Building AI Tools in Houdini
This tutorial presents how to create an extension for Houdini that uses AI to analyze and document code, as well as generate it from the prompt. It also shows how to communicate with AI chat models (LLMs) endpoints in general.
It is inspired by the workshop conducted by Paul Ambrosiussen during EPC23.
Tool description
We will create and add custom context menu buttons that will appear when we right-click on VEXpression and Python code fields in Houdini nodes. Pushing these buttons will trigger different actions defined in the tool’s Python code. (Contents of fields will be sent to the model as a prompt and the model’s answer will be put back into the fields)
The plan is to have 3 buttons:
- Print simple text to the console, just for testing
- Analyse and comment the code
- Generate code from prompt
1. Creating a Houdini package for our tool
A package in Houdini is simply a plugin that can consist of various components such as HDAs, scripts, shelves, Python panels, environment variables, etc. These packages can be loaded into Houdini as a single entity and enable easy sharing of customized functionality along with all its dependencies with others, without the need to share individual files.
The most important parts of the packages are:
- JSON file that defines a tool and points Houdini to the location in which the tool’s files are stored.
- Tool’s files of course.
⚡️ So we need to create such JSON file for our tool - Name it “AI_Tool.json” for example and save it in one of the following locations:
$HOUDINI_USER_PREF_DIR/packages
(eg. C:\Users\<USER>\Documents\houdini19.5\packages)$HSITE/houdinimajor.minor/packages$HOUDINI_PACKAGE_DIR
(eg. C:\Program Files\Side Effects Software\Houdini 19.5.368)$HFS/packages
These are the places that are scanned by Houdini to load the packages on start.
⚡️ Finally fill the file with a code below:
AI_Tool.json
|
|
❗ Adjust the path so it points to the location in which you plan to locate the tool’s files.
2. Extending Houdini context menus
Ok, let’s create our two buttons (the third one we will add later on)
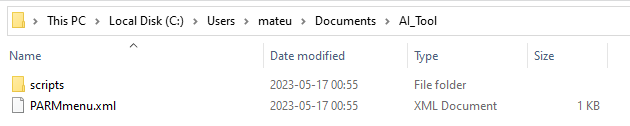
⚡️ To extend the context menu, go to the location of your tool’s files and create there a PARMmenu.xml file with the following contents:
PARMmenu.xml
|
|
This is an XML structure that defines a submenu with buttons that will be added to the context menu.
<scriptItem> tags specify buttons themselves. You can add as many as you want here.
The last step is to finally implement logic that will call functions in our package on button click.
⚡️ What we need to do is to replace comments between <scriptCode> with Python script wrapped with
<![CDATA>[ ... ]]>. Simple as that!
The code should look like this:
PARMmenu.xml
|
|
⚠️ Python code should be aligned to the left side in order to avoid indentation problems.
3. Talking with Artificial Intelligence 🤖
Let’s jump back to our package folder and implement functions that will communicate with the model.
⚡️ In the package folder create a new folder called “scripts”, then inside it, a folder called “python”, and finally create Python script “AITool.py” inside it.
The folder structure should look as follows:
Houdini automatically loads Python modules if they are located in the following paths:
$HOUDINI_PATH/pythonX.Ylibs$HOUDINI_PATH/scripts/python$HOUDINI_USER_PREF_DIR/pythonX.Ylibs$HOUDINI_USER_PREF_DIR/scripts/python$PYTHONPATH
Additionally, it loads Python modules for every package if they are located in the path like this: …/MyPackage/scripts/python/my_python_module_file.py
Some basic stuff
⚡️ Since we have a button that will just print some text to the Houdini console, add a logic for it to the AITool.py file:
AITool.py
|
|
Calling OpenAI ChatGPT
⚡️ Now add logic that will call the OpenAI endpoint to communicate with the model:
AITool.py
import openai

...

def read_code_from_parameter_and_comment_it(code_field_contents):
    openai.api_key = "<OPENAI_API_KEY>"

    prompt = """
    Analyze the following VEX code from SideFX Houdini and add comments to explain it.
    Don't change the code, return the same code with comments above.
    I only need the script body, do NOT explain the code body.
    The code: {0}
    """
    prompt = prompt.format(code_field_contents)

    completion = openai.ChatCompletion.create(
        model="gpt-3.5-turbo",
        messages=[ {"role": "user", "content": "{prompt}"} ],
        temperature=1.0,
        n=1
    )

    return completion.choices[0].message.content
⚠️ To use ChatGPT you need an account and paid access to its API.
You can grab it here: OpenAI Platform
Calling generic model using HTML CORS requests
Another way to communicate with the models it to use classic HTML requests.
BTW: OpenAI Python library uses the same code internally but wraps it with functions that are more convenient to use.
⚡️ For this method use the code below:
AITool.py
import requests

...

def read_code_from_parameter_and_comment_it(code_field_contents):
    prompt = """
    Analyze the following VEX code from SideFX Houdini and add comments to explain it.
    Don't change the code, return the same code with comments above.
    I only need the script body, do NOT explain the code body.
    The code: {0}
    """
    prompt = prompt.format(code_field_contents)

    # Creating HTML request components
    request_body = {
        "prompt": prompt,
    }

    request_headers = {
        "Content-type": "application/json",
        "API-KEY": "<API_KEY>"
    }

    # Sending HTML POST request to the endpoint
    response = requests.post(
        url="<URL>",
        headers=request_headers,
        json=request_body,
        timeout=50)

    # Analysing the response
    if response.status_code == 200:
        if response.json()["status"] == "Success":
            return response.json()["answer"]
        else:
            return "Request failed with " + response.json()['status']
    else:
        return "Request failed with status code: " + response.status_code
⚠️ This is just a sample code. It may not work with all endpoints/models because they may require different headers and request/response body schema (DTOs).
You may need to adjust request_body, request_headers, and response parsing.
Everything except that should be more or less universal and work with every model backend.
Code generation
Implementation of the code generation logic is almost the same, you just need to add another function like those above and change the prompt 😃.
⚡️ In PARMmenu.xml, duplicate <scriptItem> with “h.aitool_2” and make it call your new function.
I would suggest something like this:
prompt = """
Write VEX code from SideFX Houdini that will: {0}
Additionally add comments explaining it.
Give me just the code and the comments, nothing else.
I only need the script body, do NOT explain the code body.
"""
prompt = prompt.format(code_field_contents)
4. Let’s try it. It’s showtime!

⚡️ Restart Houdini if you have it opened. This is required because packages are loaded on the program start.
You can check if the package has been detected correctly. To do this click the “Help” button in the navmenu at the top, then “About”, tick the “Show Details” checkbox, and scroll down to the “Loaded Packages” section. The tool should appear there.
First test the basic functionality which is debug message printing.
⚡️ In network view create a geometry node and then attribute wrangle node in it.
Yey!
Now time to try our bleeding-edge functionality!
⚡️ Inside of attribute wrangle node type your VEX code.
For example something like this:
Attribute Wrangle node
vector color = rand(@ptnum);
if(@ptnum % 2 == 0)
{
    color.x = rand(@ptnum);
    @Cd = color;
}
else
{
    @Cd = (0.5, 0.5, 0.5);
}
printf("%f", @Cd.x);
⚡️ Ok, so let’s click the button and wait for a few seconds.
… and there you have it! The same code as before but analyzed and commented for you. Crazy, right?
Bonus: “Houdini joke-as-mesh generator”
Let’s create a simple node graph that will ask AI to tell some random joke, and then convert this joke into a mesh using font node.
⚡️ All you need to do is to create a Python node and place the same code that we use in our tool package inside it with some modifications.
It should look like this:
Python node
import requests

node = hou.pwd()
geo = node.geometry()

# Creating HTML request components
request_body = {
    "prompt": "Tell me a good joke about birds",
}

request_headers = {
    "Content-type": "application/json",
    "API-KEY": "<API_KEY>"
}

# Sending HTML POST request to the endpoint
response = requests.post(
    url="<URL>",
    headers=request_headers,
    json=request_body,
    timeout=50)

# Analysing the response and adding detail attribute with the joke
if response.status_code == 200 and response.json()["status"] == "Success":
    geo.addAttrib(hou.attribType.Global, "joke", "") # Add detail attribute
    geo.setGlobalAttribValue("joke", response.json()["answer"]) # Set its value
You can use OpenAI module for this too
The rest of the node tree should look like this:
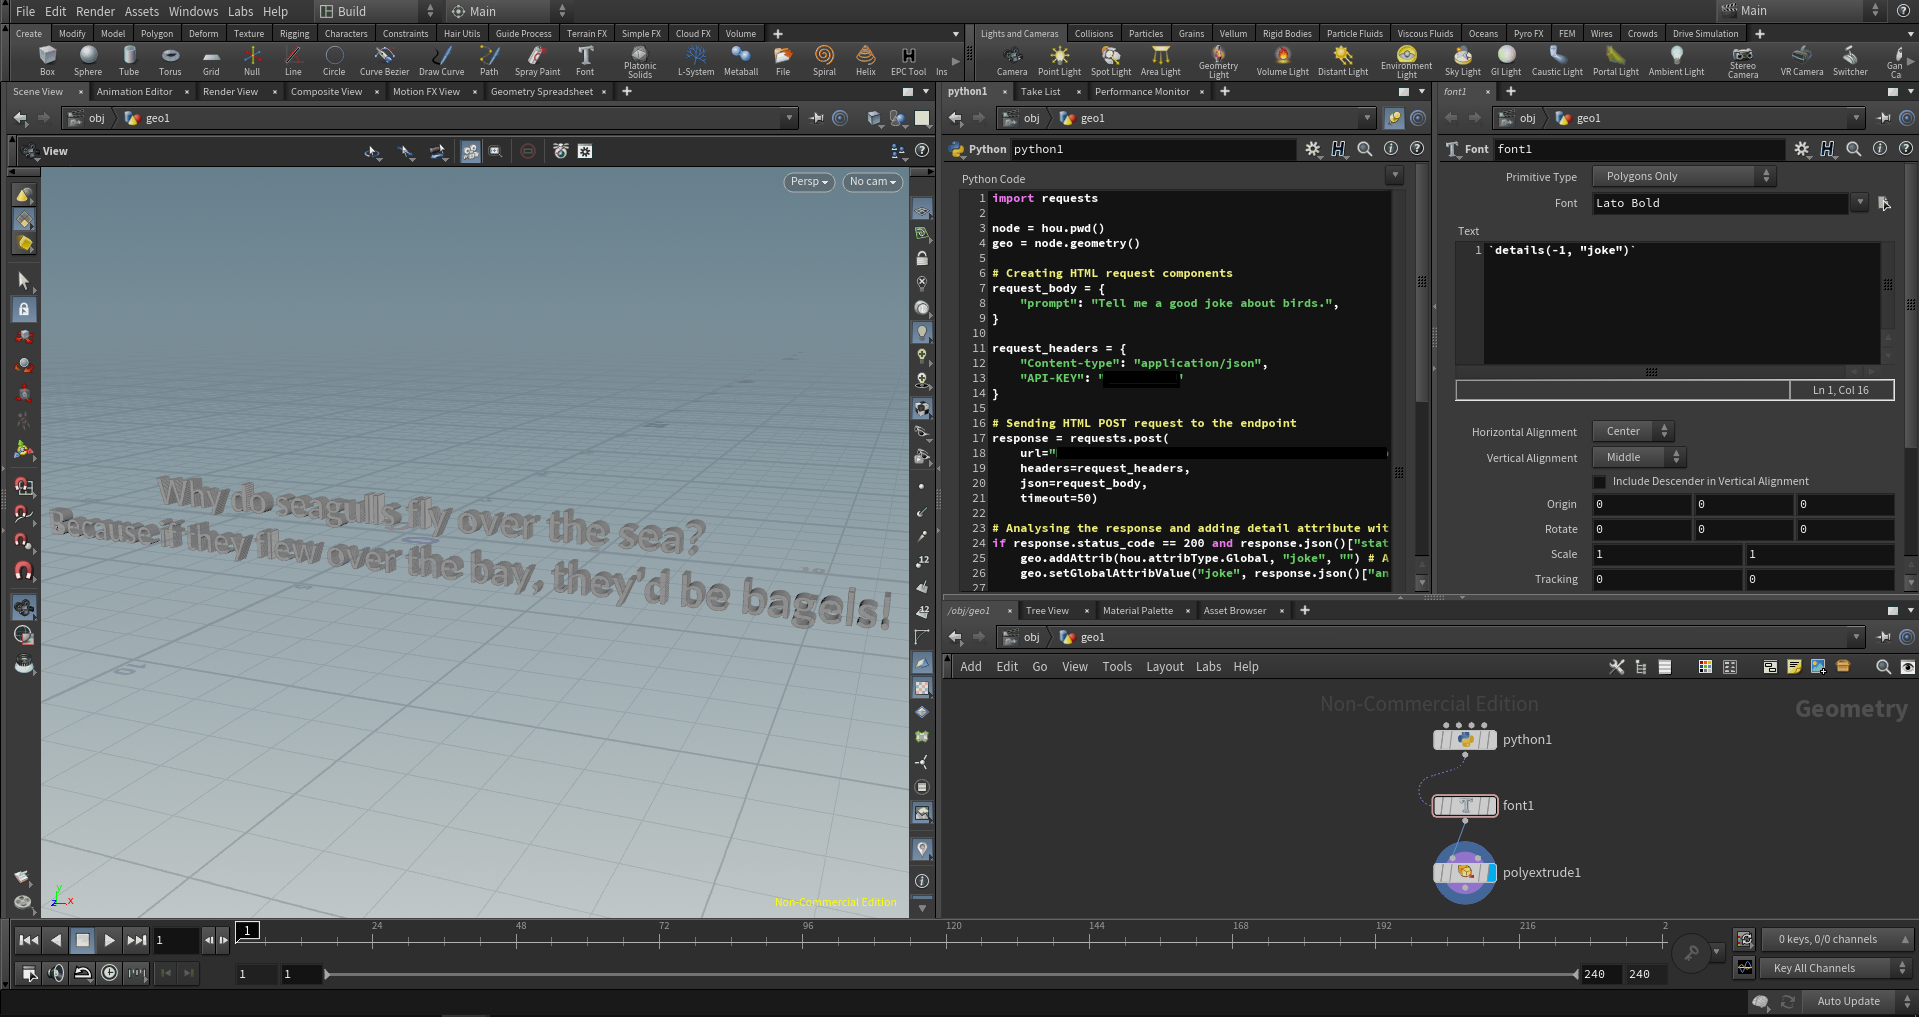 (Font node is referencing Python node using spare input. It has to be added to the font node by clicking the cog button next to its name and choosing “Add spare input”. Then it will appear in the parameters below. Just drag and drop Python node to assign it)
Of course, you can add some personal twist to it if you want.
💡 Idea: You can create a PDG network that will generate a huge number of random jokes as meshes and save each one as a separate FBX on the drive so you can use them to … well I don’t really know but it is cool.
💡 Perhaps a more useful idea: Create parameterized NPC creator for the video game and ask AI to “play” with different parameters, as well as come up with some personal details and character descriptions. In this way, we can easily generate meaningful characters. (Next step would be to convert them to something more “physical”. Eg. Nothing stops us from deploying an army of 3D-printed, AI-equiped replicants to the streets. Welcome to the future!)

That’s it! Thanks for reading 😃